How to lay wood chips in your garden
In this article we are going to look at how to lay wood chip in your garden, alongside some real world examples such as wood chip pathways and using wood chips for chicken runs.
Here are some of the most common uses of wood chip for gardens:
- Growing areas
- Garden paths
- Chicken runs
- Play areas
Wood chip for growing areas
An attractive and fertile growing area can make a great addition to any landscape and one way to achieve this is through laying down wood chips. There are various benefits to using wood chip for this purpose:
- Wood chips help to prevent annoying weed growth;
- Wood chips help to keep the soil moist
- Wood chips are a great year-round solution as they keep the soil cool in the summer and warm in the cooler winter months
- Wood chips can improve soil composition
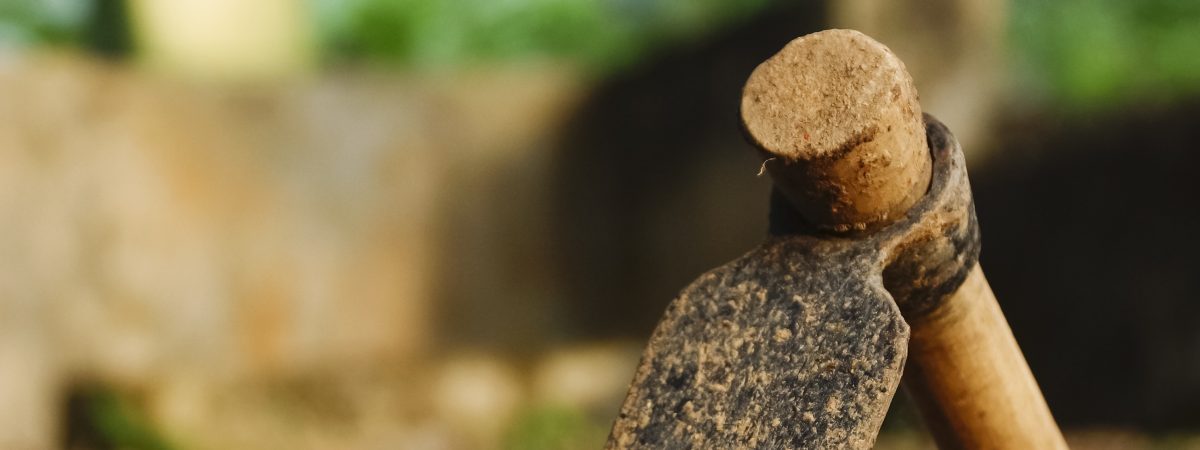
If you are considering using wood chips in your growing area, we would start by tilling the soil between any plants, shrubs or trees to remove any existing weeds or grass. Once the soil has been tilled, lay down up to 2 inches (50mm) of wood chip over the soil, being careful not to cover the planting you want to keep. It’s that simple.
Our wood chips are perfect for creating your ideal growing area, you can view our wood chip products here.
Making a wood chip path
Hardwood chips are an excellent alternative to more expensive hard pathway materials like paving or gravel and gives a different texture and look to the garden. Another benefit is that wood chips are also very durable and low maintenance.
To make a wood chip path in your garden, start by preparing the area using a garden hoe or a spade to till the soil, this helps to get rid of any weeds or grass that may be growing. Next, rake the soil smooth to creat a nice even surface to work with. Once you are happy, lay down a weed membrane over the soil to prevent unwanted weeds growing through the wood chips. Make sure your membrane is flat and covers the entire area of your path. It’s time to add our wood chips to grab yourself a shovel, add the chips in a 3-4 inch (75mm to 100mm) layer, most weeds will not penetrate through this depth, even without landscape fabric blocking their growth.
Once your wood chips have been added, rake them smooth and tap gently with the back of a wide shovel to help hold them in place.
Our wood chips are perfect for garden paths, you can view our wood chip products here.
Wood chips for chicken runs
If your chickens are in a fixed run, then a covering of hardwood chips make the ideal surface for your girls.
Why use wood chips for a chicken run?
- Wood chips help to keep your chicken run from getting muddy
- The microbes that grow on the decomposing wood chips help the chicken droppings break down faster
- Earthworms and soil insects that feed off the decomposing wood chips provide food (and entertainment) for your flock.
- Wood chips only needs to be laid once or twice a year
- Wood chips provides a similar surface that the chickens’ ancestors will have experienced in the wild
Laying wood chips in a chicken run is very straightforward. Simply shovel in up to 3 inches (75mm) of hardwood chips and let them bed in. Avoid using bark chips due to growth of mould and spores that may be harmful to the birds and softwood chips that will quickly turn to mulch.
Our wood chips are ideal for chicken runs, you can view our wood chip products here.
Wood chips for a play area
When creating a play area with wood chips, a deeper bed of hardwood chips should be used, this ensures a soft landing should any accidents occur. If you are thinking of creating a wood chip play area at home, we recommend a depth of 6 inches (150mm). For commercial play areas which get a lot of use, we recommend laying your wood chips to a depth of at least 12 inches (300mm).
Our wood chips are ideal play areas, you can view our wood chip products here.